The MessageGuard Appliance can archive mail for your Google Apps account. These instructions cover what you need to do in Google Apps to route mail through MessageGuard. These steps should be done after you call us to setup the appliance to accept and route the mail for Google Apps. You should make sure that your DNS MX records are pointing to the Google mail servers (https://support.google.com/a/answer/174125?hl=en) when you are ready to implement this change. Also a day or two before making this change we suggest changing your current TTL for the MX record to 600 seconds or 10 mins so when you do change the MX record to point to Google the change will happen much quicker and mail will start flowing to Google with in 10 minutes.
Google Apps, MessageGuard Appliance
- First contact support at 877-225-0100 and ask us to setup your appliance to support Google Apps for your domain.
- Next you need to configure Google Apps to send a copy of all mail to the MessageGuard appliance for archiving. To do this, load your Google Admin console. It should look similar to this:
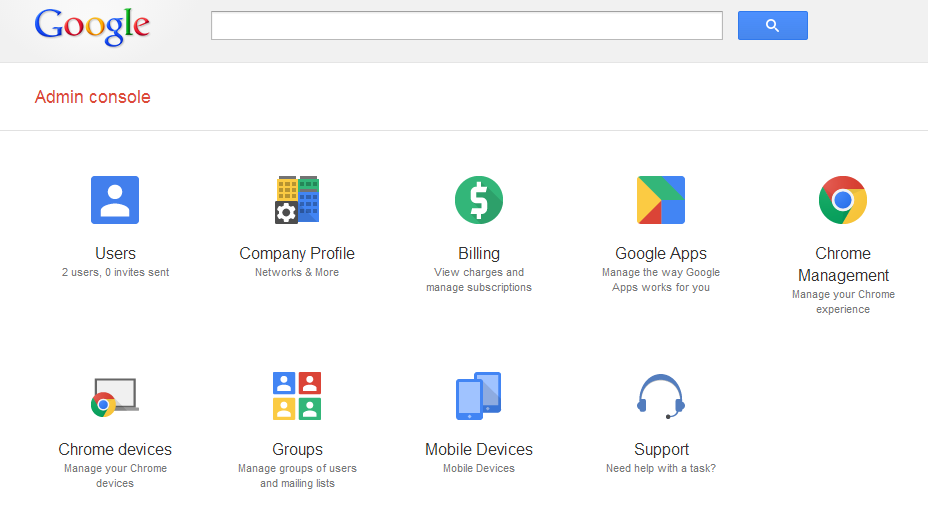
- On the "Admin console" menu, click on "Google Apps"
- Select "Gmail"
- Make sure that you have your top level organization selected while making the changes below so they apply to all users
- Scroll to the bottom of the Gmail settings page and select "Advanced Settings"
- In the Advanced Settings select "Hosts" on the menu at the top of the page, then select "Add Route"
- For name use MessageGuard, for host use MessageGuard's Public IP address, for port use 2525. IMPORTANT: DO NOT check "Perform MX Lookup" and "Require TLS delivery".
- Click "Save" when finished
- Click on "General Settings" on the menu at the top of the page
- Scroll to about half of the way down the page and find the fields for Inbound Gateway and Outbound Gateway. If there is anything in the fields remove it.
- Scroll to the bottom of the page to "Routing" and click "edit" (you should see the page shown below)
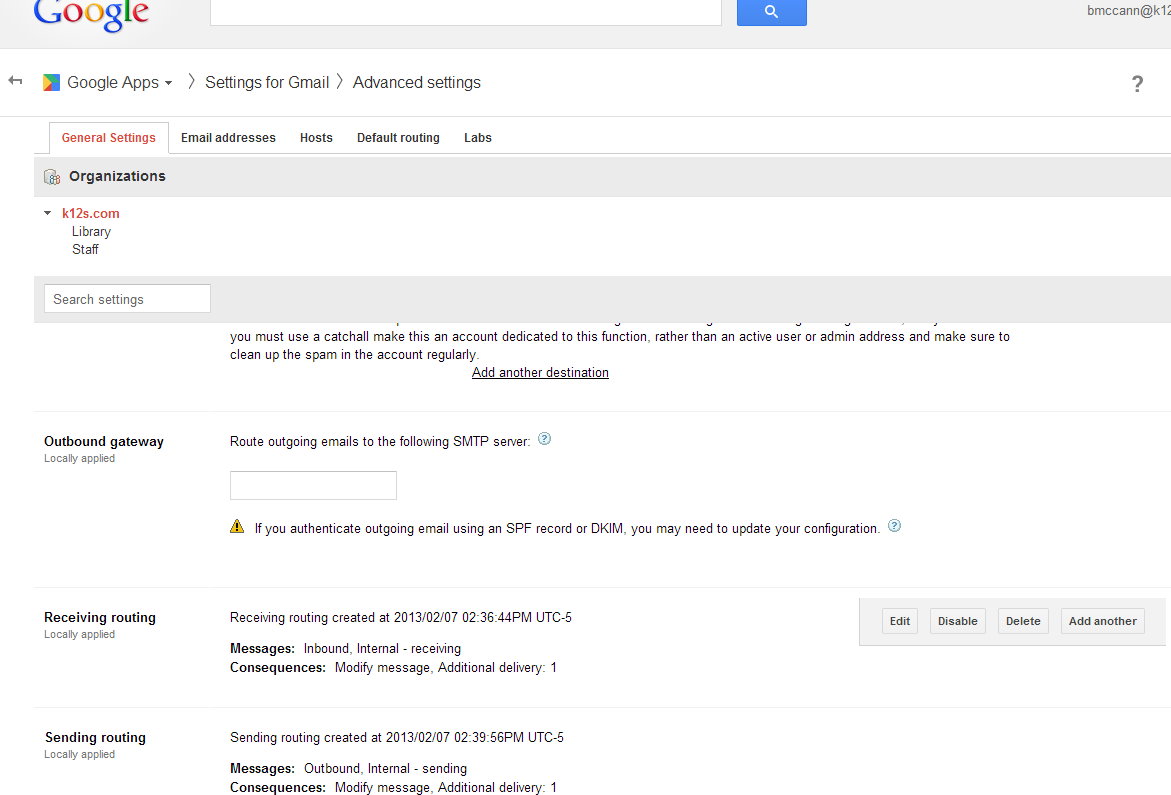
- Select all boxes for "Inbound, Outbound, Internal - Sending, and Internal - Receiving"
- For "For the above types of messages" select "Modify Message" in the dropbox option
- Scroll down and for "Also Deliver" check the box for "Add more recipients", below that click "Add"
- Set the dropdown option to be "Advanced"
- For "Route" check the box for "Change Route" and select "MessageGuard" and click "Save"
- Click edit for "Sending Routing" and follow steps 13-17 to complete the configuration
- When you are done both Receiving routing & Sending routing should say "Modify message, Additional delivery: 1"
- When you are finished make sure to click "Save" at the bottom of the page